How to Make a Composite Picture in Paint Shop Pro 5

Editing pictures is not only fun but is handy when you want to make your hub images stand out. This series of tutorials will mainly be dealing with Jasc Paint Shop Pro 5 which I use because it is simple and not overly-technical and you can achieve great results with it. Many of the functions I will be describing are similar in other image editing programs, so finding your way around another program with these tutorials shouldn't be very difficult.
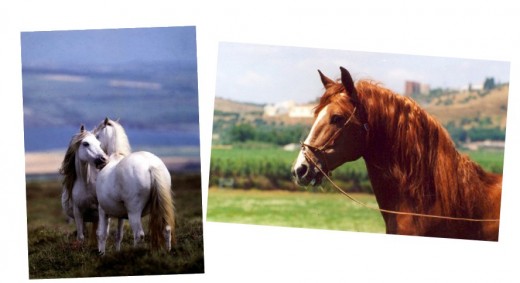
Here, we will be learning how to make a 'composite picture' - that is, merging two or more pictures into one to create a different look. This is a handy trick which you can use to create interesting photo montages in order to display different items of the same variety (for example CD covers). The example to the right shows a composite picture of horses which I quickly whipped up. It will help to give you a basic idea of what you should end up with at the end of this tutorial.
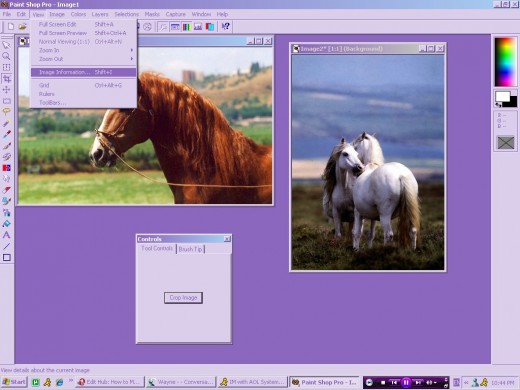
The first step is to open both your images in your image editing program, such as Paint Shop Pro 5.
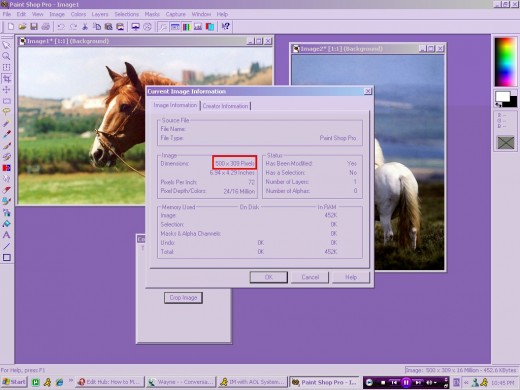
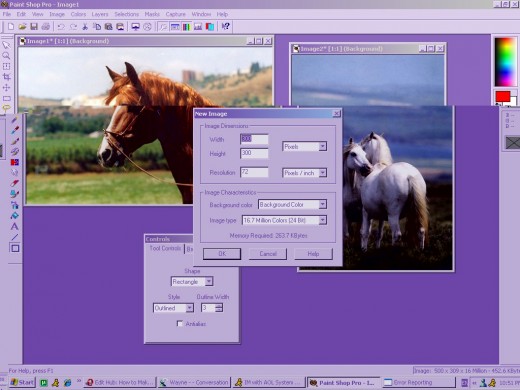
In the top tool bar, click the first icon on the left that looks like a sheet of bank paper to create a new image. In the top two boxes, type the dimensions that you wish for your new image. The width and height should be roughly twice the size of the image you previously "measured". The image will be large and you will almost certainly have surplus space around the edges of where your composite photo will be, but you can always crop it. After setting the dimensions, you need to make sure the background colour is either neutral or what you want it to be. You can select this from the drop-down box.

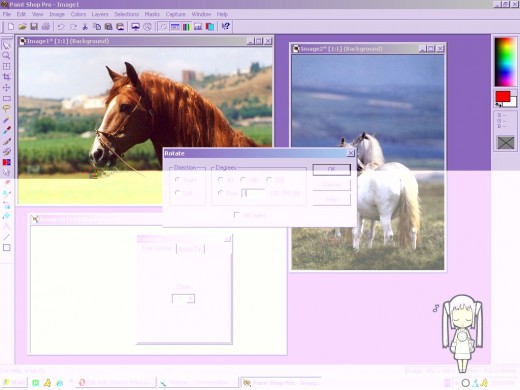
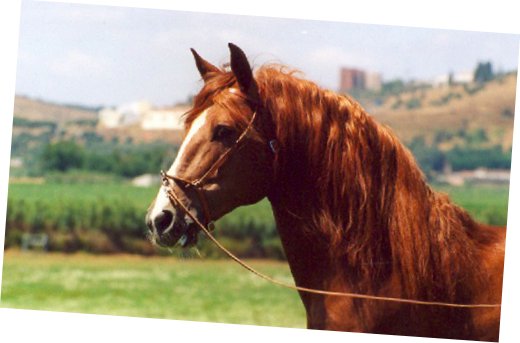
Then go to the first of images you wish to place on your new canvas. You can use the editing tools in the "Image" menu to enhance or alter the photo. These functions include "rotate", where you can rotate the image a few degrees to get it to sit on an angle. This looks especially good in composite photos where both images are rotated in different directions at different degrees. To achieve this, set the 'background colour' in your palette to the same shade as the background colour of your new canvas by simply clicking the right-most colour in your colour palette to the right. Use the colour selector to choose the same colour as your new canvas and press OK. Next, select Rotate from the Image menu and press "Free", to stipulate a small number of degrees for rotation. Any more than about 10 degrees looks tacky here. Set the direction of rotation and press OK. After rotation, the first of your images should look similar to the one on the right.
Note: the default tool bar is not inclusive of the "Paste as selection function". You will need to edit your toolbar in order to get this button to appear. To do this, Go to File > Preferences > Customise Toolbar.
Next you are required to copy and paste this edited image into the one you created previously. To do this, ensure that the edited picture is active by clicking its title bar. Copy the image and select your blank canvas. You will need to use the "Paste as selection" function in order to set this image inside the blank one.
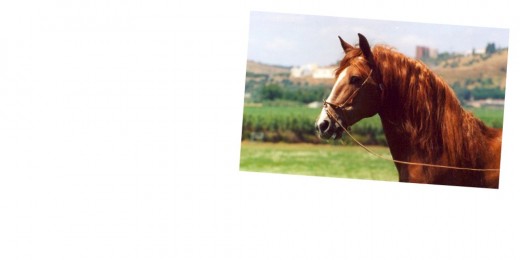

Once placed, your image should look similar to the one on the right.
Next, we must process the second image in the same way. Select it and rotate it in the opposite direction at a different number of degrees. Then copy the image and paste it as a selection into the composite image.
You can fiddle around with each of the settings shown here, and add background colours or textures, borders, and crop the image to suit your needs.
The most important thing to remember when editing images is to experiment. This is the quickest way to learn your way around any new program and figure out new ways to trick out your photos in Paint Shop Pro 5. Happy image editing!


